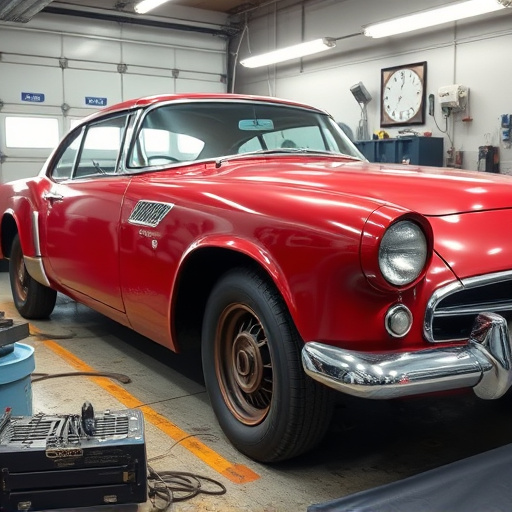
Meticulous assessment and customized repair plans for vinyl wrap damages. Skilled technicians clean, prime, apply, and position new wraps seamlessly. Final stages include detailed edge alignment, gap filling, and quality control checks. Comprehensive inspections ensure flawless results matching original car body condition.
“Looking to restore your vehicle’s sleek aesthetic? Understanding the timeline for a vinyl wrap repair replacement is key. This comprehensive guide breaks down the process into three distinct stages. First, assess the damage and devise a tailored repair plan. Next, follow a step-by-step application process to ensure precision. Finally, thorough quality control checks seal the deal. Discover the expertise needed for an efficient and effective vinyl wrap repair replacement that leaves your car looking as good as new.”
- Assessing Damage and Customizing Repair Plan
- Applying Replacement Wrap: Step-by-Step Process
- Final Touches and Quality Control Checks
Assessing Damage and Customizing Repair Plan
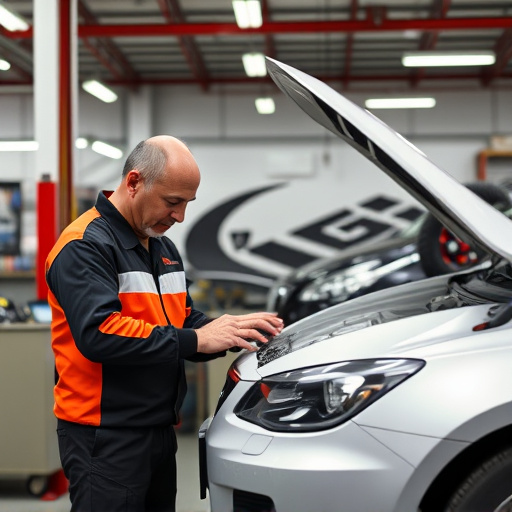
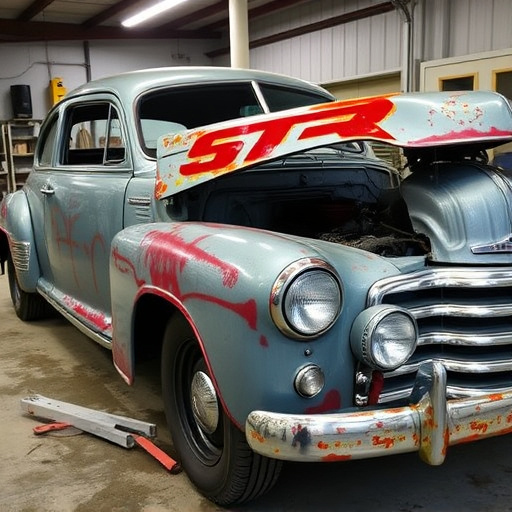
The first step in any vinyl wrap repair replacement is a thorough assessment of the damage. This involves closely examining the wrapped surface to determine the extent and type of damage, which could range from small dents and scratches to larger tears or complete removals of the wrap. Skilled technicians use specialized tools and expertise to pinpoint these issues, ensuring an accurate understanding of what needs fixing.
Once the damage is assessed, a customized repair plan is devised. Depending on the severity, this might include dent removal techniques, scratch repair, or even replacing sections of the vinyl wrap. The goal is always to restore the vehicle’s original appearance and protect its value through meticulous automotive repair services.
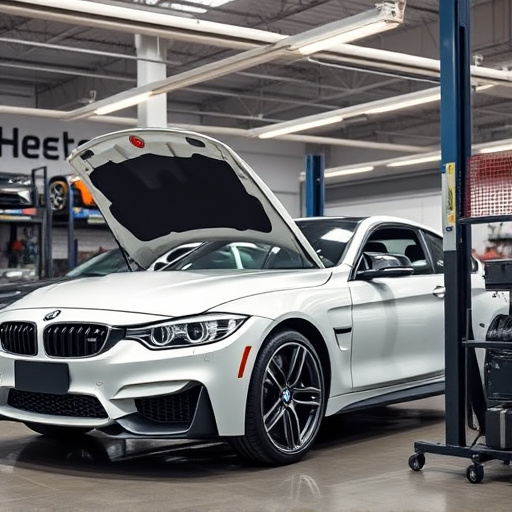
Applying Replacement Wrap: Step-by-Step Process
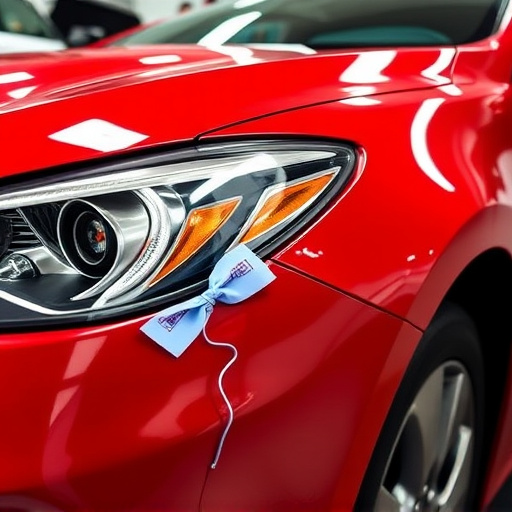
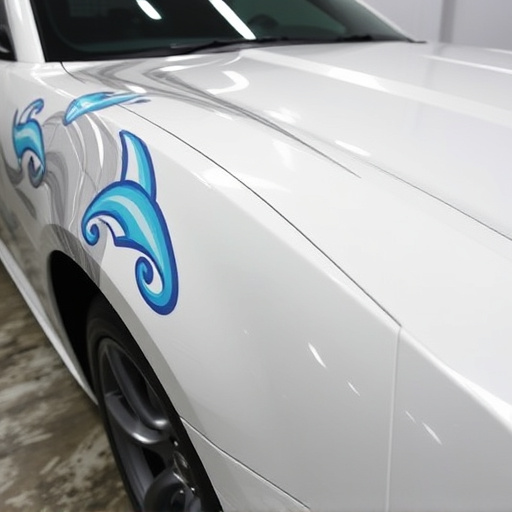
Applying a vinyl wrap repair replacement is a meticulous process that requires skill and precision. It begins with thoroughly cleaning the damaged area to ensure optimal adhesion. This involves using specialized cleaners and solvents to remove any dirt, grease, or residue, preparing the surface for the new material.
Next, a primer is applied to create a bond between the existing surface and the wrap. The chosen vinyl wrap is then cut to size, taking into account the contours of the vehicle for a seamless fit. It’s crucial to have the right tools and a steady hand during this step to avoid any miscuts or bubbles in the material upon application. Once cut, the wrap is carefully positioned and pressed firmly against the primed surface, smoothing out any air pockets as it goes. This step-by-step process ensures a durable and visually appealing repair that matches the vehicle’s original finish, enhancing its overall aesthetic, much like an auto collision repair expert would meticulously restore a car to its former glory at a trusted auto collision center.
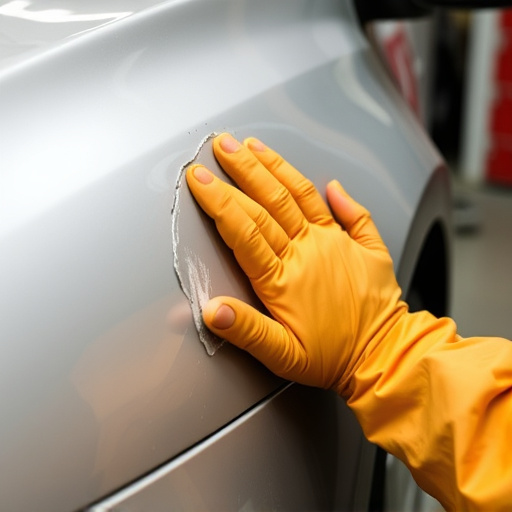
Final Touches and Quality Control Checks
After the vinyl wrap is applied and the material has been carefully smoothed into place, the final touches are added. This involves ensuring all edges align perfectly, filling in any minor gaps or bubbles that may have occurred during installation, and achieving a seamless finish. Skilled technicians will use specialized tools to refine the surface, checking for any signs of ripples, wrinkles, or air pockets trapped beneath the wrap. These quality control checks are crucial to maintaining the high standard expected from collision repair services.
The auto painting process concludes with meticulous inspections to guarantee that every detail meets the client’s expectations. This includes a comprehensive review of the entire vehicle, checking for any overspray, touch-ups needed in hard-to-reach areas, and ensuring color consistency across all surfaces. With these final adjustments, the vinyl wrap repair replacement is transformed into a flawless restoration, rivaling the original car body condition, thanks to top-tier collision repair services.
Vinyl wrap repair replacement is a meticulous process that, when properly executed, can extend the life of your vehicle’s exterior. From assessing damage to applying the new wrap and conducting quality control checks, each step plays a crucial role in achieving a professional finish. With the right tools, expertise, and attention to detail, you can expect the entire process to typically take between 4-8 hours, ensuring your car looks as good as new.