Before repairing a vinyl wrap, inspect damage (cracks, chips, etc.), prepare vehicle surface with washing, sanding, and priming, then choose suitable vinyl material from professional options. Precise trimming, heating, smoothing, touch-up paint, alignment, and coatings complete the process for a flawless integration that restores vehicle appearance after car or collision damage.
“Are you looking to restore your vehicle’s sleek vinyl wrap? This comprehensive guide breaks down the process of a successful vinyl wrap repair replacement. From assessing damage and preparing the surface, to selecting the ideal replacement material and applying the new wrap, each step ensures a professional finish. Learn how to choose the right products, prepare effectively, and achieve a seamless, durable result. Master the art of vinyl wrap repair with these easy-to-follow instructions.”
- Assessing Damage and Preparing the Surface
- Choosing the Right Vinyl Wrap Replacement Material
- Applying and Finalizing the New Vinyl Wrap
Assessing Damage and Preparing the Surface
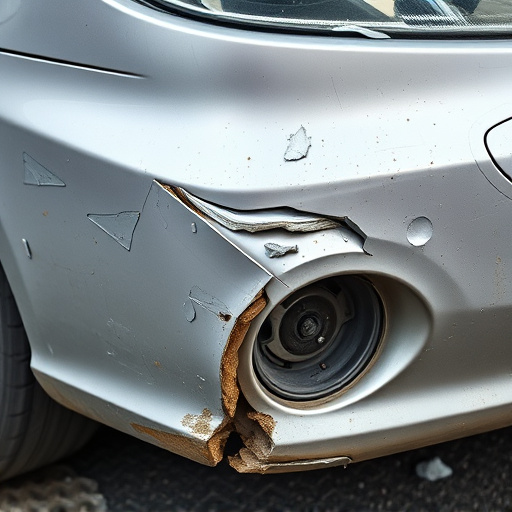
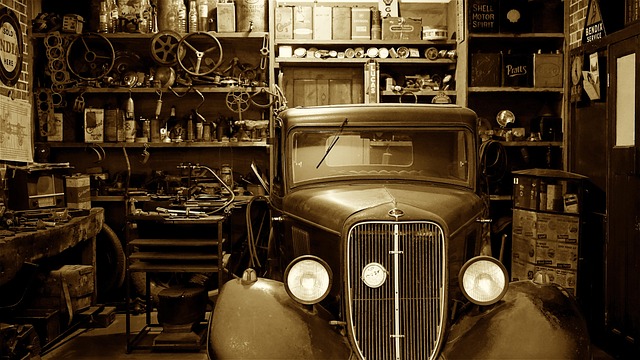
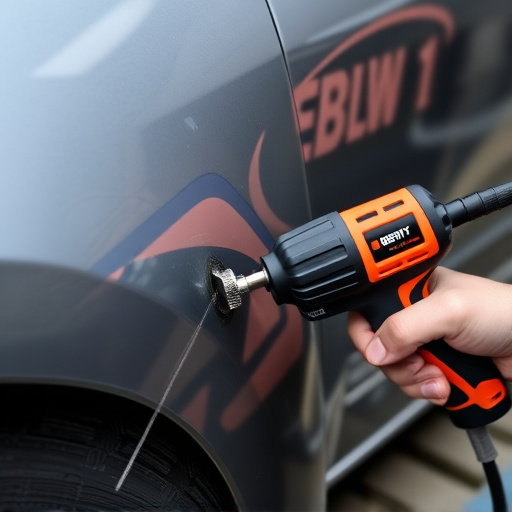
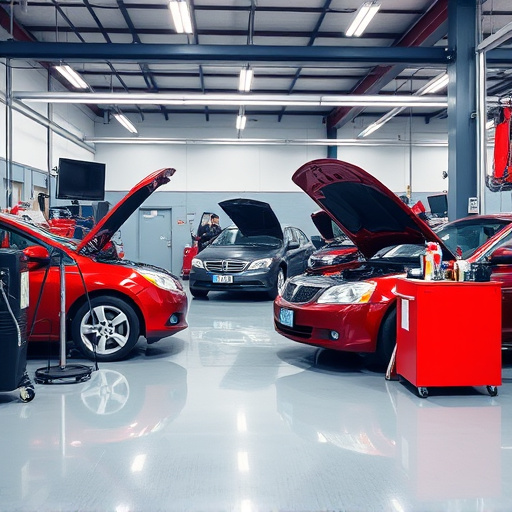
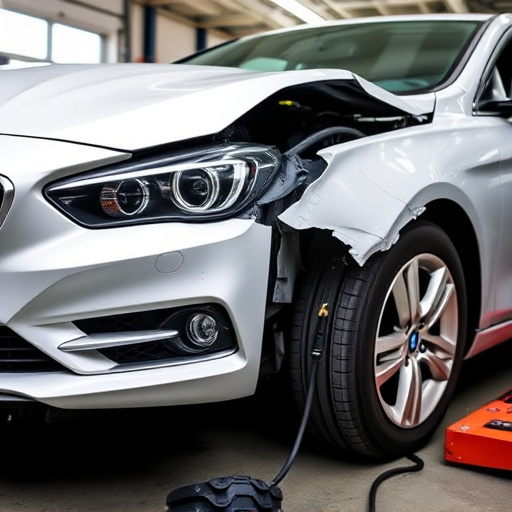
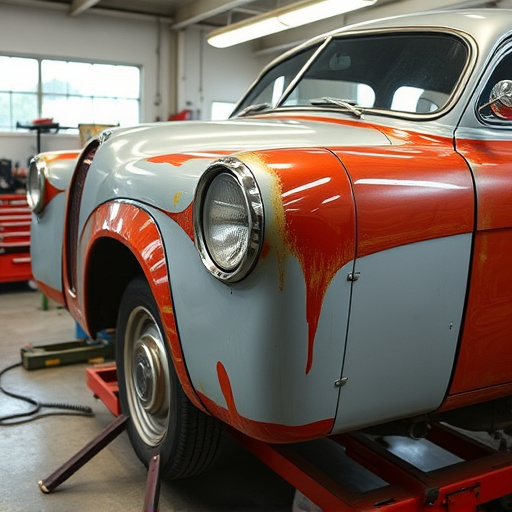
Assessing damage is a crucial step before initiating any vinyl wrap repair replacement. Start by inspecting the damaged area closely to determine the extent and type of harm. Common issues include cracks, chips, bubbles, or discolouration. Smaller imperfections can often be repaired with simple kits, whereas more extensive damage might require professional attention. Before beginning repairs, ensure you have all necessary tools and materials on hand for a seamless process.
Preparation is key to achieving the best results in vinyl wrap repair replacement. Wash and degrease the vehicle thoroughly to remove any dirt or grime that could compromise adhesion. Sand any rough edges around the damaged area to create a smooth surface, and ensure it’s free from debris. Priming the surface can also enhance bond strength, especially when using auto painting techniques for a more durable fix. Proper preparation not only guarantees better aesthetics but also ensures the longevity of your repair work.
Choosing the Right Vinyl Wrap Replacement Material
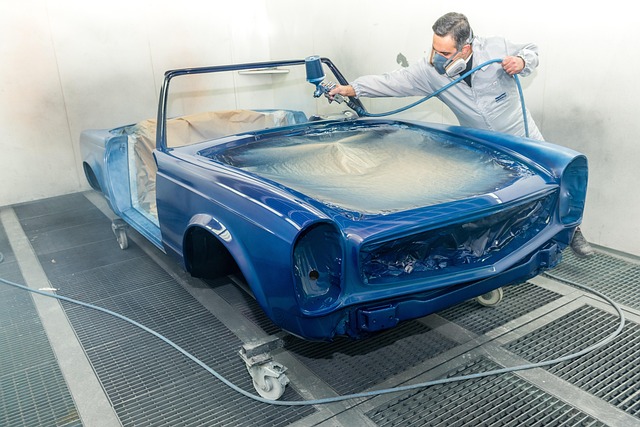
When embarking on a vinyl wrap repair replacement project, selecting the appropriate material is the cornerstone of achieving a seamless and durable finish. The ideal replacement should match the original vinyl’s properties, ensuring it withstands environmental factors like UV exposure, maintains its flexibility, and resists cracking or fading. Opting for high-quality, industry-standard wraps ensures compatibility with the vehicle’s surface, providing a long-lasting solution.
Professional collision repair centers often stock a range of options, from standard vinyls to advanced, scratch-resistant varieties. When choosing, consider factors like the vehicle’s make and model, the specific panel being repaired, and the desired aesthetic outcome. A skilled technician can guide you in selecting the best material, ensuring it not only fixes the damage but also enhances the overall appearance of the vehicle body shop‘s work.
Applying and Finalizing the New Vinyl Wrap

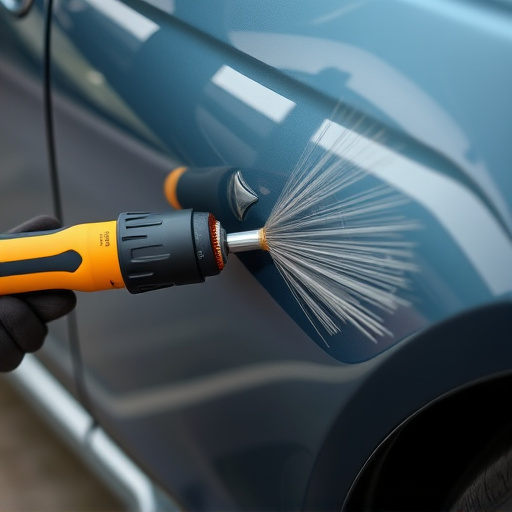
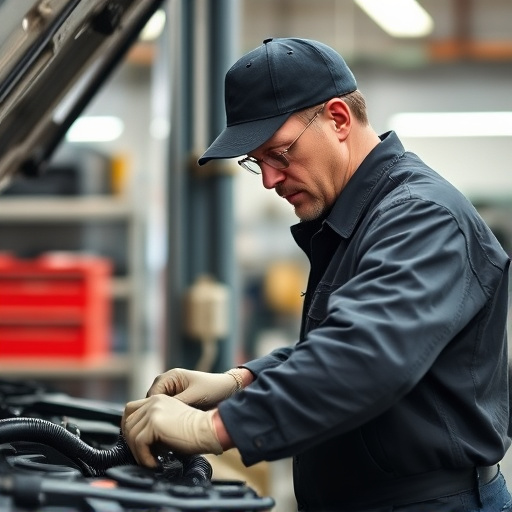
After carefully preparing the damaged area and applying the new vinyl wrap, it’s time to move on to the final steps of the vinyl wrap repair replacement process. This involves ensuring a seamless finish that matches the vehicle’s original appearance. Use a utility knife to trim any excess vinyl, being precise and careful not to cut into the underlying surface. Then, with a heat gun or hair dryer, gently warm the wrapped area to soften the vinyl slightly, allowing it to conform perfectly to the contours of the car body. This is where expert knowledge comes in handy; the right temperature and application are crucial for achieving a professional finish.
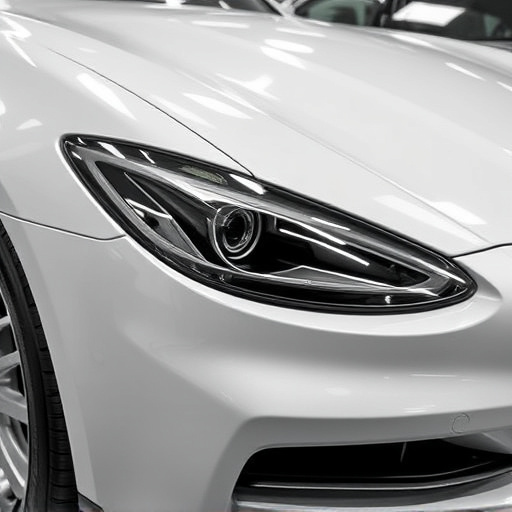
Once the vinyl is securely attached and any wrinkles or bubbles are smoothed out, the final touches include applying touch-up paint if needed, ensuring all edges align perfectly, and adding protective coatings to enhance durability. The result should be a flawless integration of the new vinyl wrap, effectively repairing and restoring the vehicle’s appearance, just like an automotive restoration job done right. This meticulous process guarantees that your car will look as good as new, with its glossy finish and pristine aesthetics, overcoming any signs of car damage repair or vehicle collision repair.
Vinyl wrap repair replacement is a meticulous process that, when executed correctly, can extend the life of your vehicle’s exterior and restore its aesthetic appeal. By following these structured steps—assessing damage, selecting suitable materials, and applying the new wrap with precision—you can achieve a professional result that enhances your car’s overall look. Remember, proper preparation and attention to detail are key to a successful vinyl wrap repair replacement job.