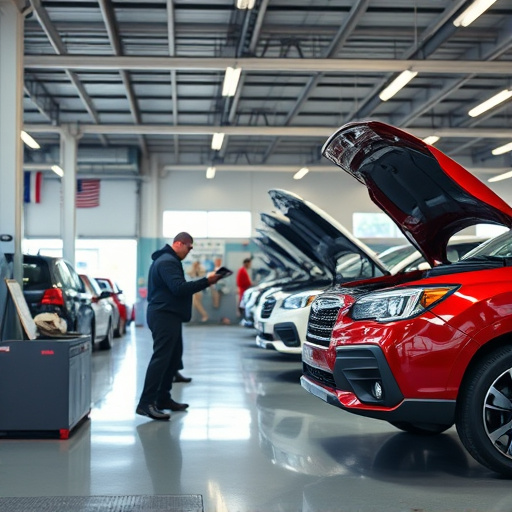


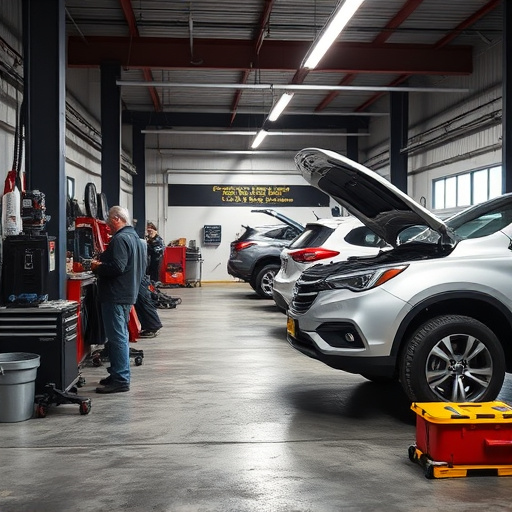
Before repairing or replacing a vinyl wrap, carefully inspect the damage—looking for cracks, tears, and bulges—and prepare the surface by cleaning, drying (if wet), and lightly sanding if needed. Collision centers, with their specialized tools and expertise, are ideal for this crucial preparation phase to ensure durable repairs that preserve your vehicle's aesthetic value and resale potential.
“Discover the step-by-step process of a successful vinyl wrap repair replacement. This comprehensive guide breaks down the intricate tasks involved, from initial assessing damage and preparing the surface to expert techniques in removing and replacing damaged sections. Learn about essential tools, meticulous cleaning, and precise cutting for a seamless finish. Finally, explore finishing touches and long-term care tips to ensure your vehicle’s vinyl wrap remains protected and vibrant.”
- Assessing the Damage and Preparing the Surface
- – Inspecting the vinyl wrap for damage
- – Cleaning and preparing the damaged area
Assessing the Damage and Preparing the Surface
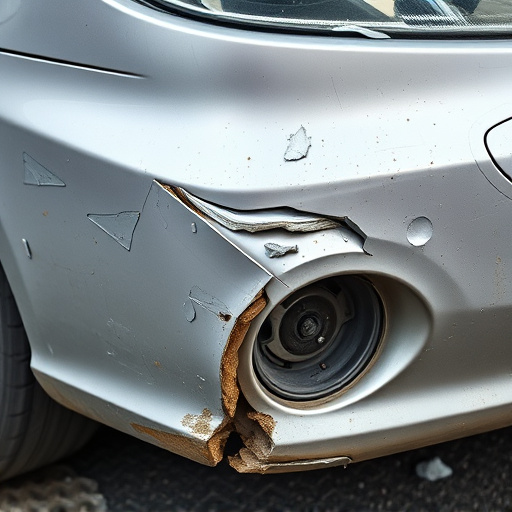
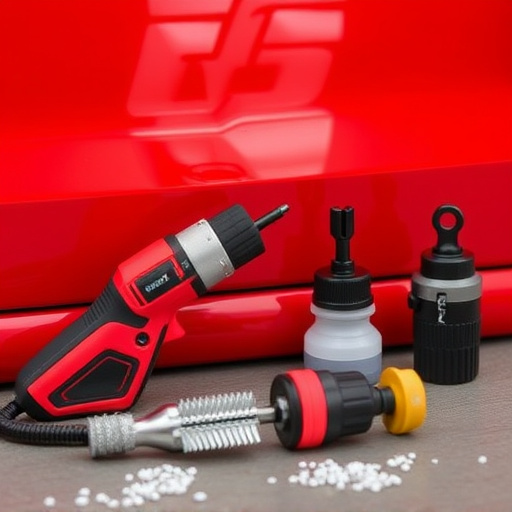
When considering a vinyl wrap repair replacement, the initial steps involve carefully assessing the damage and preparing the surface. Begin by inspecting the damaged area closely to determine the extent of the issue. Look for cracks, tears, or bulges in the wrap, as these are common indicators of problems that require attention. If there are small dents or scratches, auto dent repair techniques such as painting or patching might be sufficient. However, for more severe damage, a complete replacement may be necessary.
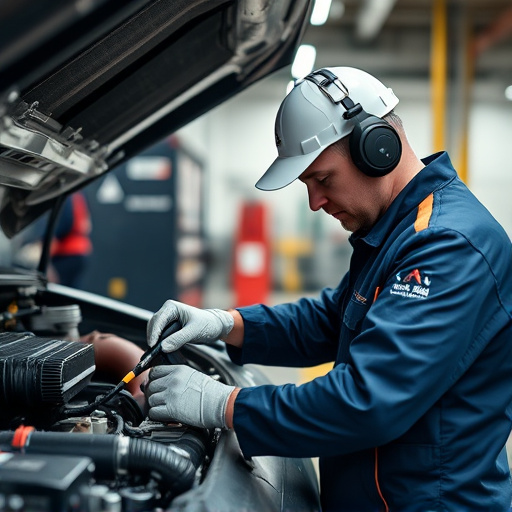
Before initiating any repair work, ensuring the surface is clean and free from debris is crucial. This involves washing and decontaminating the vehicle to prevent dirt or grime from compromising the new wrap. Additionally, checking for any underlying issues like rust or existing damage to the paintwork is essential. A collision center’s expertise in vehicle dent repair can guide you through this preparation phase, ensuring a smooth transition to the actual repair or replacement process.
– Inspecting the vinyl wrap for damage
Before initiating any vinyl wrap repair replacement process, a thorough inspection is paramount to accurately assess the extent of damage. This involves closely examining the wrap for cracks, bulges, tears, or any signs of delamination—where the adhesive layer separates from the base material. Check for both visible and hidden imperfections, as some damages might not be immediately apparent. The goal here is to identify not just the surface-level issues but also underlying problems that could impact the overall repair quality.
During inspection, consider the vehicle’s history, especially if it has been involved in a collision (collision repair) or exposed to harsh environmental conditions. Auto body services that specialize in vinyl wrap repairs often employ advanced diagnostic tools and techniques to uncover potential weak points. This meticulous process is crucial in ensuring that any replacement or repair not only looks flawless but also stands the test of time, maintaining the vehicle’s aesthetic appeal and preserving its resale value.
– Cleaning and preparing the damaged area

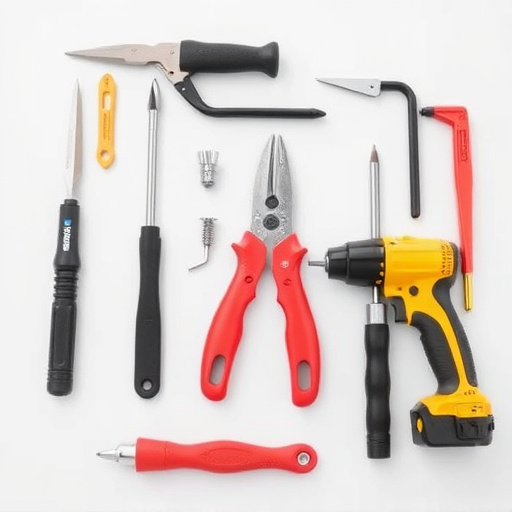
Before initiating any vinyl wrap repair or replacement, it’s crucial to start with a clean and prepared surface. Begin by thoroughly washing the damaged area using a suitable car wash solution or mild detergent, ensuring all dirt, grime, and debris are removed. This step is vital for achieving an optimal bond between the new wrap and the vehicle’s surface, as any residual contaminants can hinder adhesion.
After washing, dry the area gently to prevent water spots. Use a microfiber cloth or towel to absorb excess moisture, leaving a clean, dry surface ready for treatment. Depending on the extent of the damage, this might involve sanding lightly to roughen the surface slightly, which aids in the adherence of the new vinyl wrap—a common practice in auto detailing and body shop services for car damage repair.
Vinyl wrap repair and replacement is a straightforward process that, when done properly, can extend the life of your vehicle’s exterior. By carefully assessing the damage, preparing the surface, and using high-quality materials, you can achieve a professional finish that matches the original appearance of your vinyl wrap. Whether it’s a small chip or a larger tear, these steps ensure effective and lasting repairs, keeping your vehicle looking its best on the road.