
Vinyl wrap repair or replacement demands meticulous preparation by technicians who identify common damage like peeling, cracking, fading, or bulging. This involves a detailed vehicle inspection, cleaning, and addressing paint issues to ensure structural integrity through bumper repairs. For full replacements, removing old wraps requires careful peeling and thorough cleaning with industrial-strength cleaners. Sanding the surface creates a rough texture for better adhesion during installation. Safety protocols, appropriate tools, and protective gear are crucial for achieving a high-quality finish and extending the life of new vinyl wrap.
“Unraveling the process behind a complete vinyl wrap replacement, this guide offers an insightful journey into the art of restoration. From understanding vinyl wrap damage and its preparation, to executing a meticulous step-by-step removal process—every detail is crucial for a successful transformation.
Learn how technicians navigate through the intricate steps, ensuring every old wrap is eliminated for a pristine finish. Discover best practices to guarantee optimal results in your vinyl wrap repair replacement endeavors.”
- Understanding Vinyl Wrap Damage and Preparation
- The Step-by-Step Process of Removing Old Wraps
- Best Practices for Ensuring a Successful Full Replacement
Understanding Vinyl Wrap Damage and Preparation
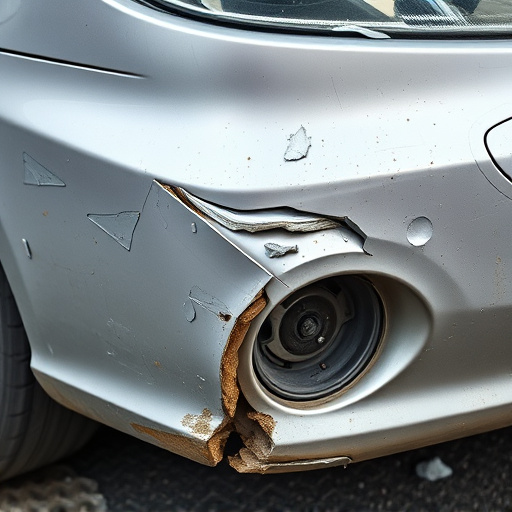
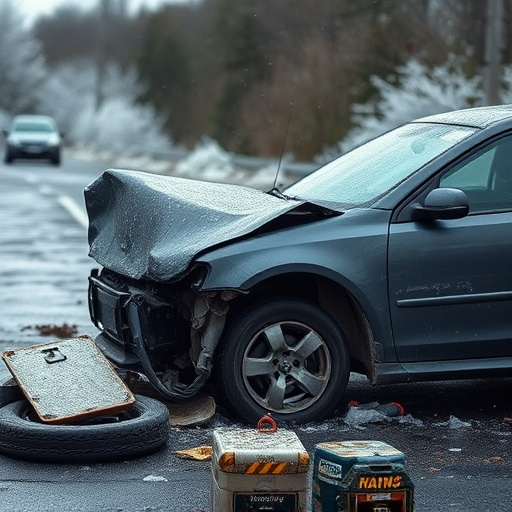
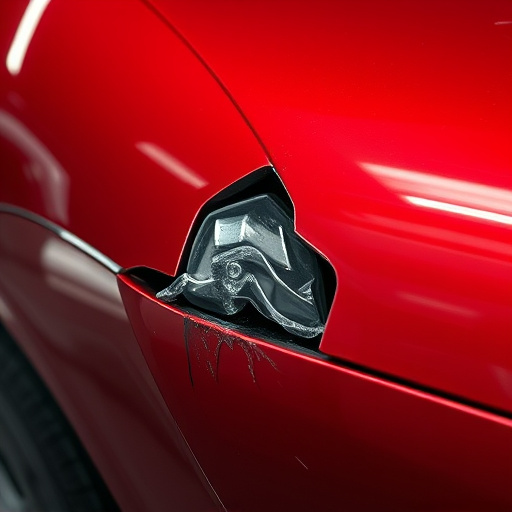
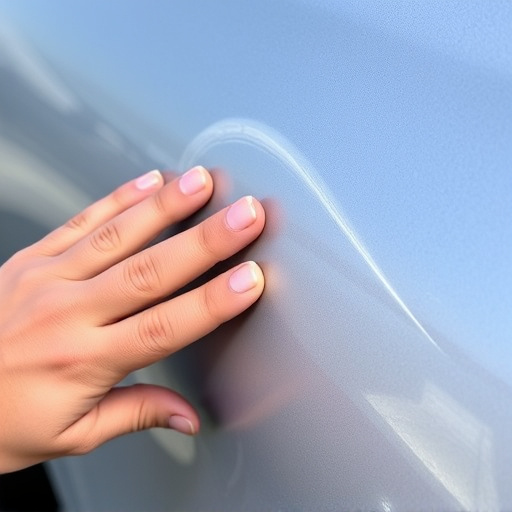
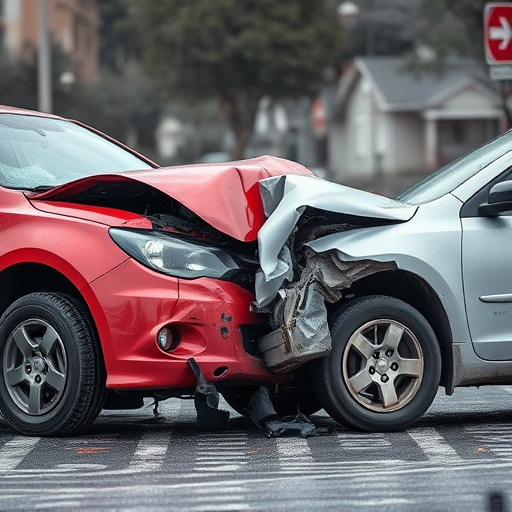
Before technicians can begin the process of removing old wraps for a full replacement, it’s crucial to understand the common types of vinyl wrap damage and proper preparation methods. Vinyl wraps, while durable, are susceptible to various issues such as peeling, cracking, fading, or bulging due to improper installation, exposure to extreme weather conditions, or normal wear and tear. To ensure successful replacement, technicians must carefully inspect the vehicle’s car bodywork, identifying damaged areas and assessing their extent.
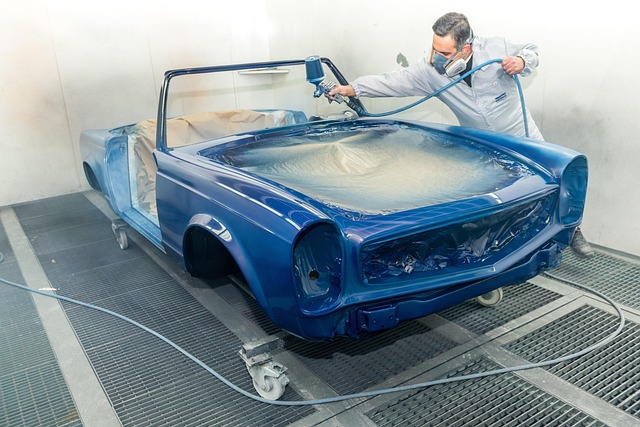
Preparation for a vinyl wrap repair or replacement involves several steps, including cleaning the surface to remove any dirt, dust, or debris that could compromise adhesion. This often includes meticulous vehicle paint repair, especially around edges and seams, to create a smooth base for the new wrap. Additionally, repairing or replacing damaged bumpers is a critical part of the preparation process, as it ensures structural integrity and aesthetic consistency across the vehicle’s exterior.
The Step-by-Step Process of Removing Old Wraps

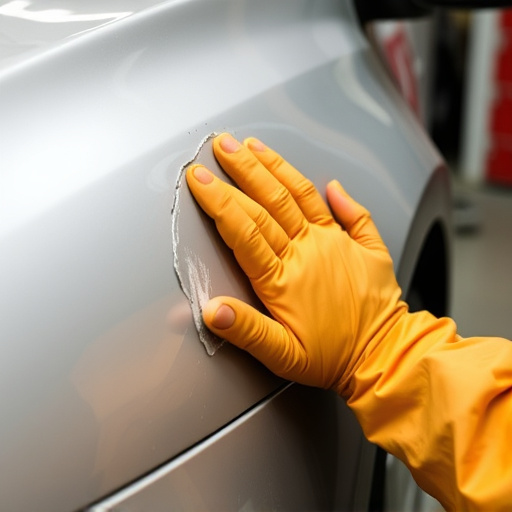
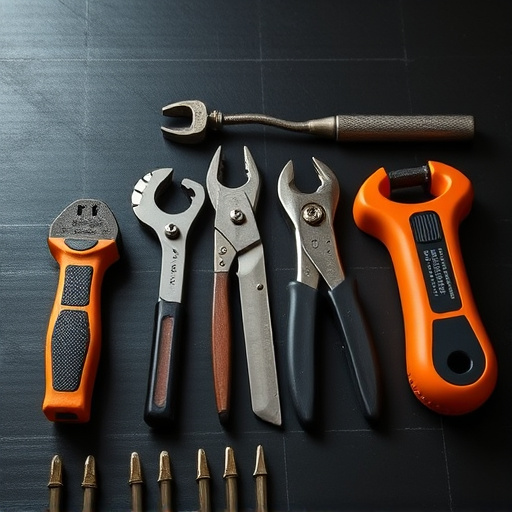
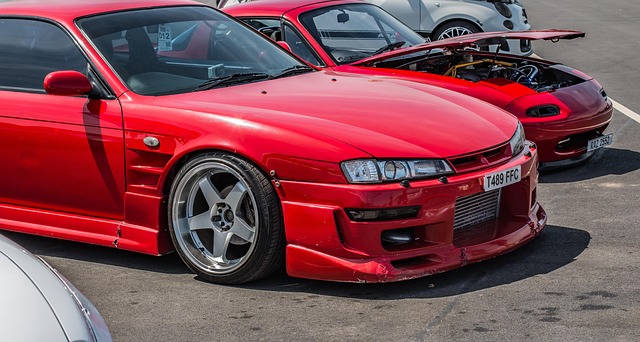
The process of removing old vinyl wraps for a full replacement involves careful and precise steps to ensure a clean, seamless finish. It begins with thorough inspection to identify any existing damage or debris on the vehicle’s surface. Technicians use specialized tools to carefully peel away the aged wrap, taking caution not to mar the underlying paint. This meticulous step is crucial in achieving an excellent end result during the car repair services or vehicle body shop process.
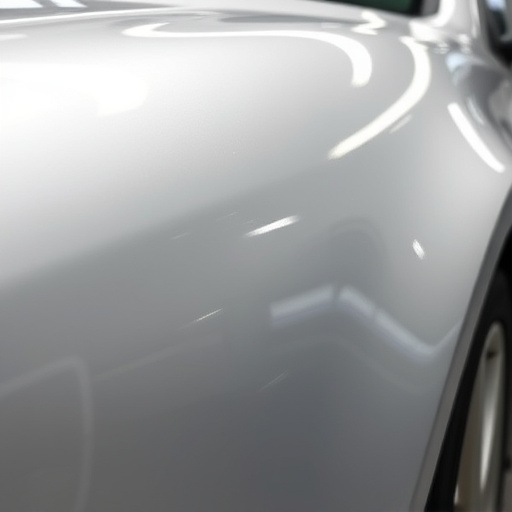
Once the old wrap is removed, a detailed cleaning regimen is initiated. This involves using industrial-strength cleaners and brushes to eliminate any remaining adhesive residue and dirt particles. The clean surface is then prepped for new wrap installation, often involving sanding to create a rough texture that aids in bonding. This stage is vital in car body restoration, guaranteeing a robust connection between the fresh vinyl and the vehicle’s body.
Best Practices for Ensuring a Successful Full Replacement
When undertaking a full vinyl wrap replacement, adhering to best practices ensures a successful and long-lasting result. First and foremost, thorough preparation is key. This involves carefully removing the old wrap, ensuring all adhesives and remnants are completely stripped away from the car’s surface. A clean canvas is essential for proper adhesion of the new wrap.
Implementing these practices in a vehicle body shop or during DIY vehicle repair services guarantees a seamless transition to the fresh vinyl. Using suitable tools, protective gear, and following safety protocols will safeguard both the technician and the vehicle. Additionally, working in a well-ventilated area is crucial due to the volatile nature of some adhesives and chemicals used in the process. This meticulous approach to full vinyl wrap repair replacement will not only guarantee a high-quality finish but also extend the life of the new wrap.
When it comes to a full vinyl wrap replacement, proper preparation and a meticulous removal process are key. By understanding the damage, following a systematic approach, and adhering to best practices, technicians can ensure a successful transformation. This involves carefully peeling back the old wrap, addressing any underlying issues, and meticulously cleaning the surface. With these steps in place, the new vinyl wrap will not only look stunning but also endure for years to come, providing a durable and protective layer for the vehicle’s exterior. Thus, prioritizing professional techniques for vinyl wrap repair and replacement is essential for achieving optimal results.