
Before attempting any vinyl wrap repair replacement, thoroughly inspect your vehicle for damage and gather specialized tools and materials. Clean and prepare the car by washing, drying, and sanding to create a smooth surface. Trim and align new vinyl sheets on a flat surface, activate adhesive, and carefully apply it, eliminating air pockets for optimal adhesion. For complex damages, seek professional vinyl wrap repair replacement services due to precision requirements.
Preparing your vehicle for a vinyl wrap repair replacement is crucial for achieving a professional, long-lasting result. Start by assessing the damage, identifying any cracks or tears, and gathering high-quality materials suitable for your car’s make and model. Next, thoroughly clean and prepare the surface, ensuring it’s free from dirt, grease, and debris. Follow these steps to successfully apply and install the new vinyl wrap, revitalizing your vehicle’s appearance with precision and care.
- Assess Damage and Gather Materials
- Clean and Prepare the Vehicle Surface
- Apply and Install the New Vinyl Wrap
Assess Damage and Gather Materials
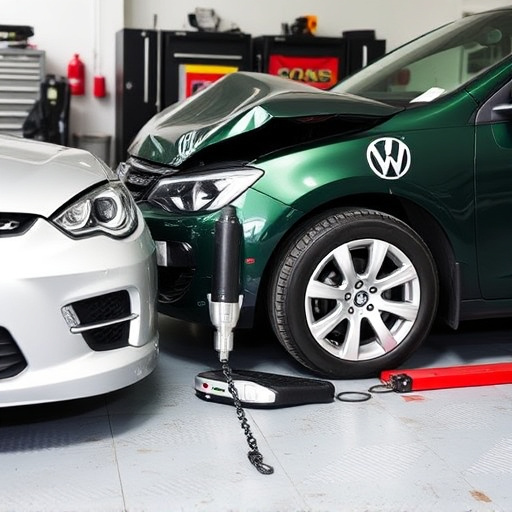
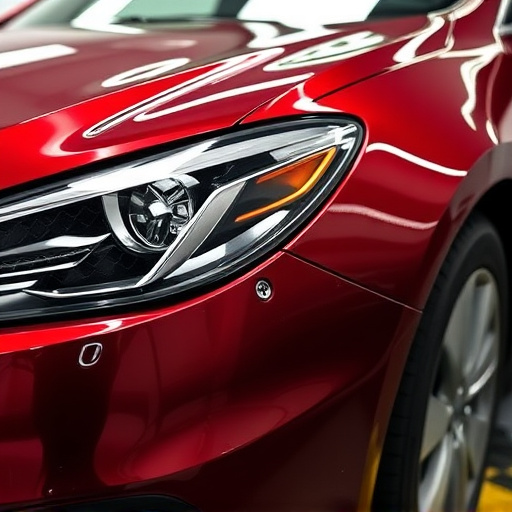
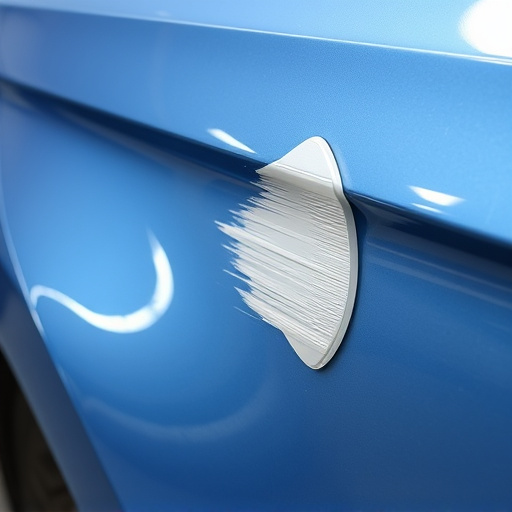
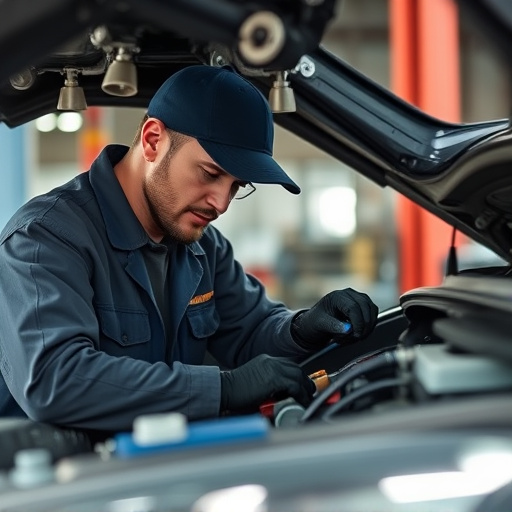
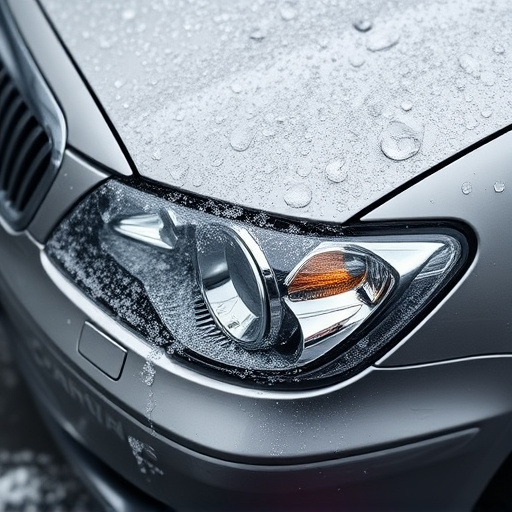
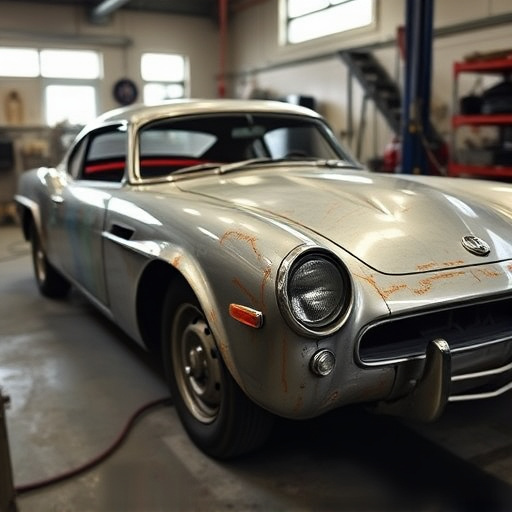
Before diving into any vinyl wrap repair or replacement, it’s crucial to assess the extent of the damage. Start by thoroughly inspecting your vehicle’s exterior, paying close attention to areas where the vinyl wrap may have cracked, bubbled, or peeled off. Look for any signs of dents, scratches, or impact damage from a fender bender or similar incident, as these can often necessitate more than just a simple repair.
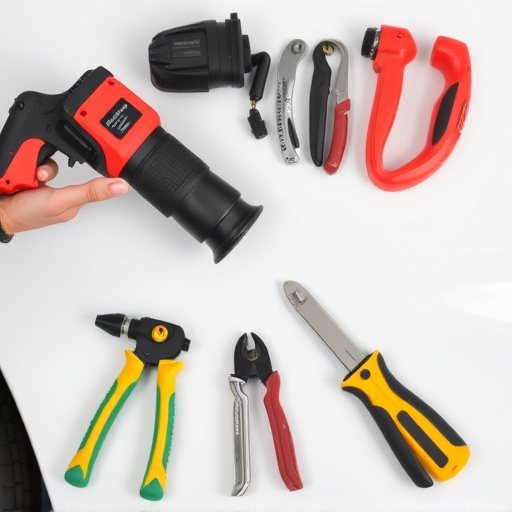
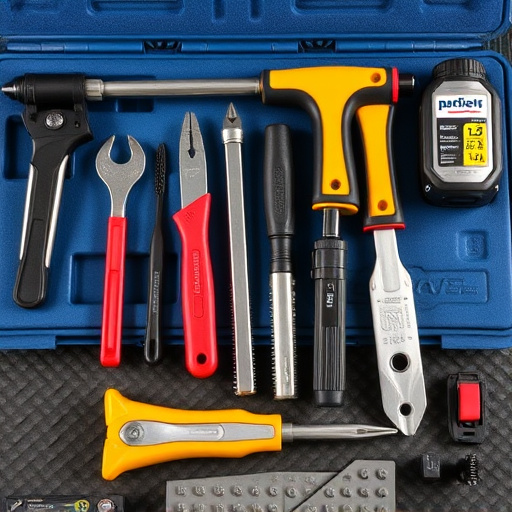
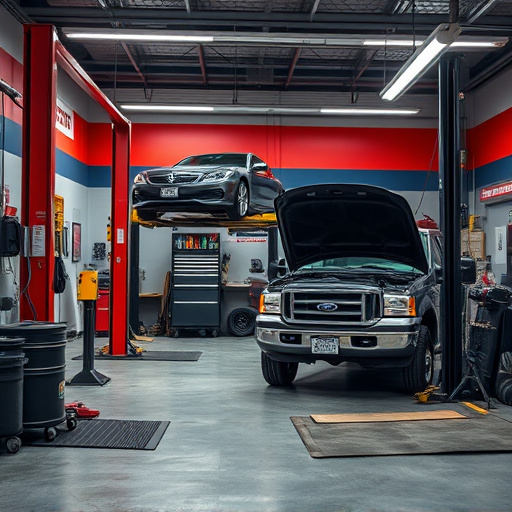
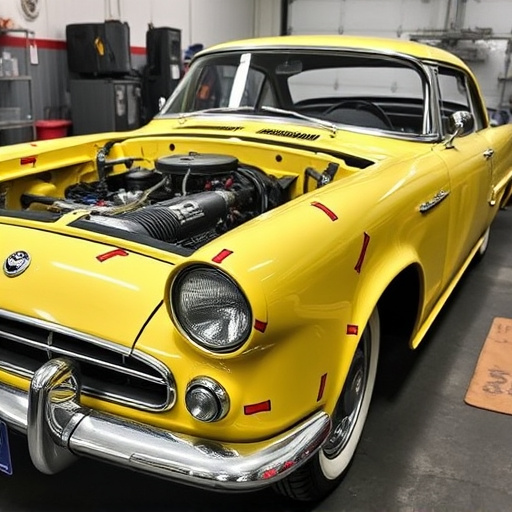
Gathering the right materials is a critical step in ensuring your vinyl wrap repair job is done effectively. You’ll need specific tools and supplies designed for this task, including specialized adhesives, primers, and replacement vinyl sheets. Don’t forget to consider visiting a trusted car repair shop or body shop service if you’re not comfortable handling the repair yourself. The right professionals will have all the necessary equipment and experience to get the job done right, especially for more complex damages like a fender bender.
Clean and Prepare the Vehicle Surface
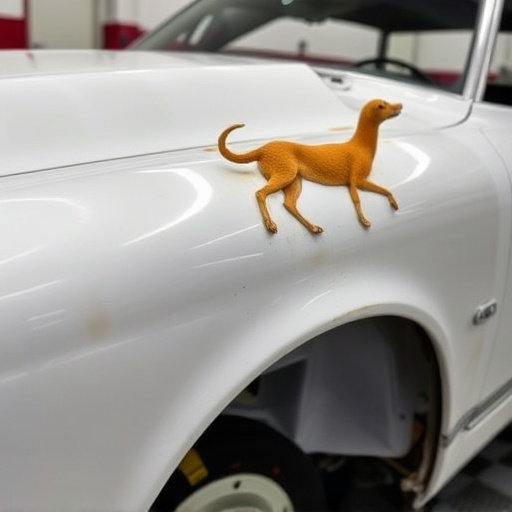
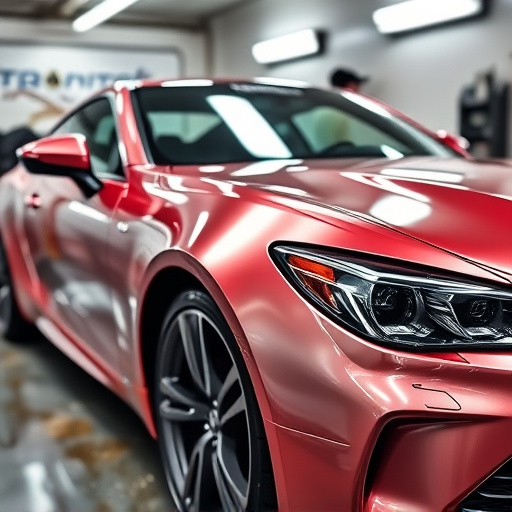
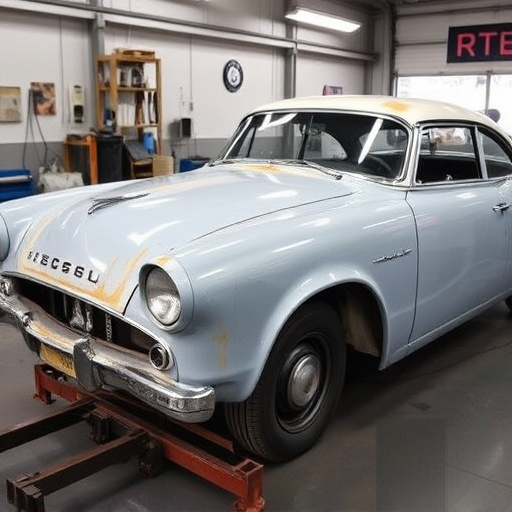
Before any vinyl wrap repair or replacement begins, it’s crucial to start with a clean and prepared vehicle surface. Begin by washing your car thoroughly using a dedicated car wash solution and a soft-bristled brush. This step is essential as it removes dirt, dust, and grime that can hinder the adhesion of the new vinyl wrap. After washing, dry the car completely to prevent water spots from affecting the final result.
Next, inspect the area requiring repair for any debris or remaining fragments from previous damage, such as hail damage repair. Use a fine-grit sandpaper to gently buff the surface, creating a smooth base. This process helps ensure that the new vinyl wrap adheres seamlessly and creates an even finish. Remember, proper preparation is key in achieving optimal results for your car paint repair or vinyl wrap replacement services.
Apply and Install the New Vinyl Wrap
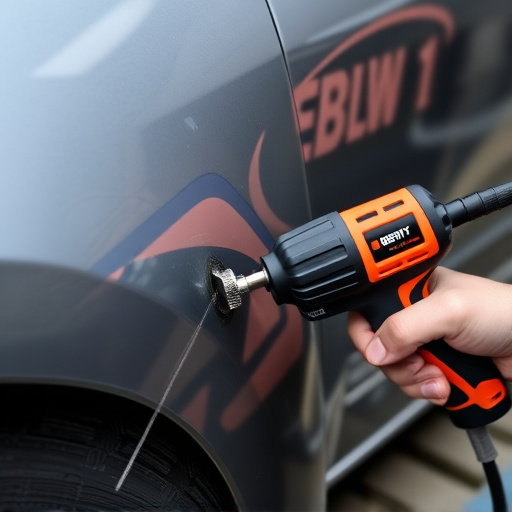
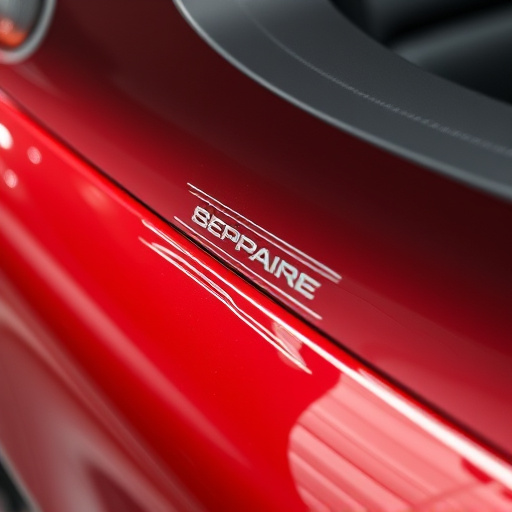
After ensuring your vehicle’s damaged area is thoroughly cleaned and prepared, it’s time to apply and install the new vinyl wrap. Start by laying out the vinyl sheet over a flat surface, ensuring it’s free from wrinkles or bubbles. Using a sharp knife or cutter, carefully trim the excess material, leaving a small overlap around the edges. This precise cut ensures a seamless fit during installation.
Next, activate the adhesive on the back of the vinyl wrap according to the manufacturer’s instructions. Carefully align and press the wrap onto the prepared surface, smoothing it out with a roller or your hands to eliminate any air pockets. The key to a successful vinyl wrap repair replacement lies in meticulous application and proper adhesion, making it an ideal task for professional fleet repair services or dedicated car collision repair experts.
Preparing your vehicle for a vinyl wrap repair replacement involves careful assessment, thorough cleaning, and precise installation. By following these steps—assessing damage, gathering necessary materials, cleaning and preparing the surface, then applying and installing the new wrap—you can ensure a professional-looking and long-lasting fix. Remember, a well-prepared surface is key to achieving a seamless, high-quality vinyl wrap repair replacement.