
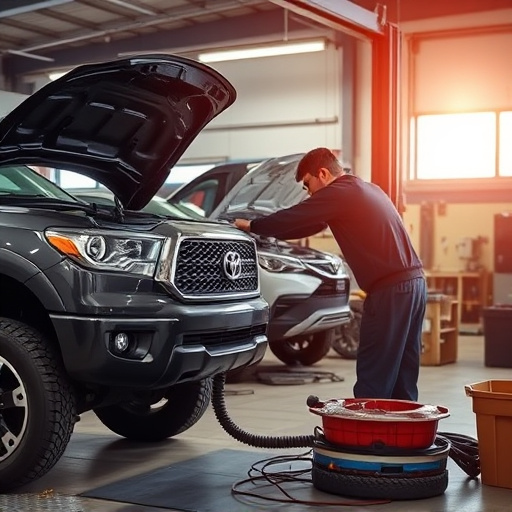
Vinyl wrap repair/replacement starts with a thorough inspection for damage. Skilled techs clean and prepare the surface, cut and apply new vinyl, then dry and protect with clear coats. This meticulous process ensures high-quality repairs that match the vehicle's original appearance, preserving value for luxury cars. Proper drying and final coatings are crucial for long-lasting, aesthetically pleasing results.
“Curious about the timeline for a vinyl wrap repair replacement? This comprehensive guide breaks down the process step-by-step, from assessing damage to final touches. Typically, it takes approximately 1-2 days for a complete repair, ensuring your vehicle looks as good as new.
First, assess the damage and prepare the surface. Then, follow a meticulous application process, allowing for drying time. Finally, add the finishing touches. Discover more about this efficient and effective solution for vinyl wrap repairs.”
Assessing the Damage and Preparation
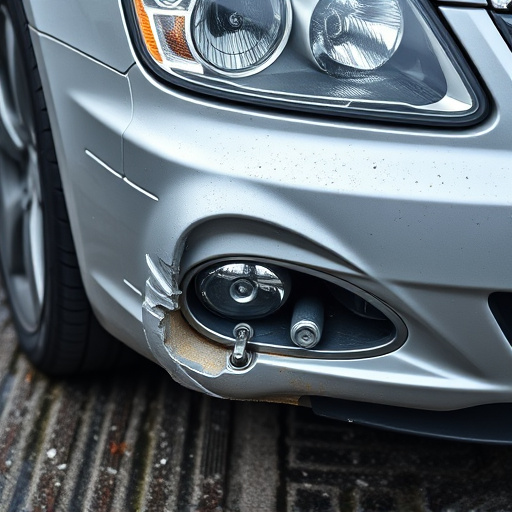
Assessing the extent of damage is a crucial first step in any vinyl wrap repair or replacement process. It involves meticulous inspection to identify cracks, tears, or dislodged sections of the wrap. Skilled technicians use their expertise to determine if the damage is superficial or if it compromises the structural integrity of the vehicle’s body. This initial evaluation informs the decision on whether a simple fix or a complete replacement is required.
Proper preparation is vital for successful vinyl wrap repair. After assessing the damage, the work area is meticulously cleaned and any loose debris removed to ensure a clean surface. In some cases, additional steps like sanding or filling may be needed to create a smooth base before applying new vinyl wrap. This meticulous attention to detail ensures that the final repair seamlessly blends with the vehicle’s original finish, providing aesthetically pleasing results and enhancing the overall quality of the vehicle repair services.
Application Process: Step-by-Step
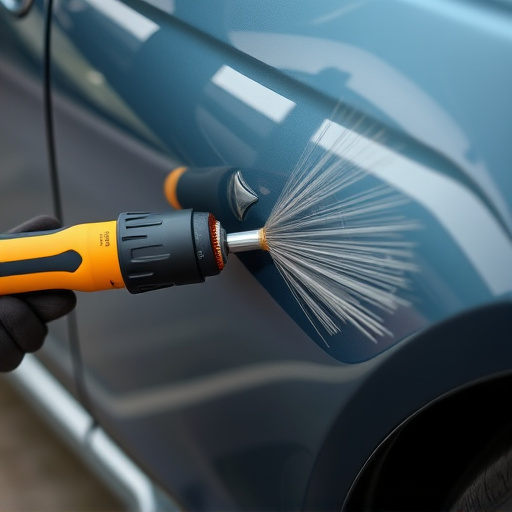
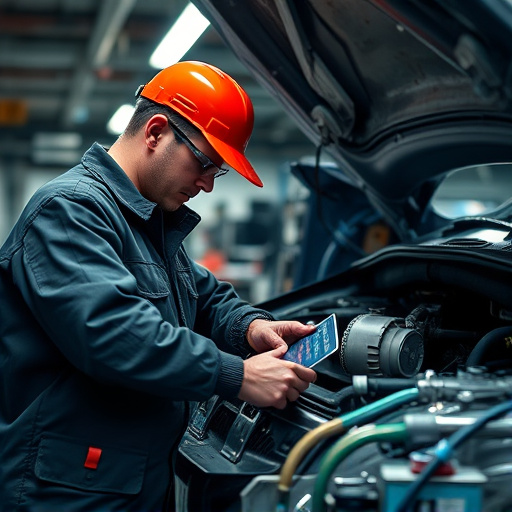
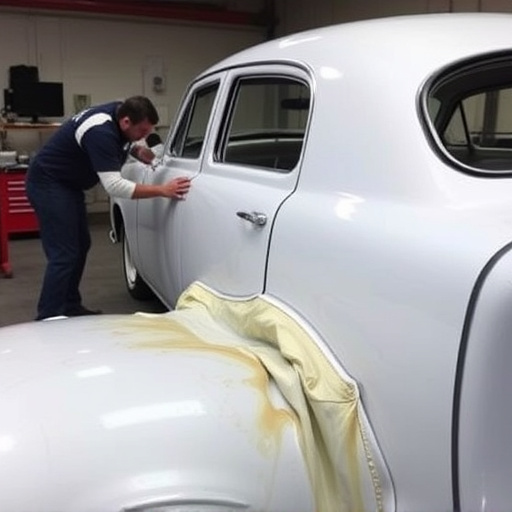
The application process for a vinyl wrap repair replacement is meticulous and requires skill to ensure a perfect finish. It begins with thorough preparation of the damaged area. This involves cleaning the surface to remove any dirt, grease, or debris, and ensuring it’s dry to the touch. The technician then applies a primer to create a clean canvas for the new vinyl wrap. This step is crucial as it enhances adhesion.
Next, the chosen vinyl wrap material is cut precisely to match the car’s contour. It’s carefully unrolled and laid over the repaired area, pressed firmly into place. Air bubbles are then removed using a special tool, ensuring a smooth surface. Finally, a clear coat or top layer is applied to protect the wrap and give it a glossy finish, matching the vehicle’s original appearance and enhancing its overall look, especially in the case of luxury vehicle repair. These steps, when executed by skilled car repair services or vehicle repair services, result in a high-quality vinyl wrap repair replacement that’s nearly indistinguishable from the original.
Drying and Final Touches

After the damaged area has been thoroughly cleaned and prepared, the next step in a vinyl wrap repair replacement is the drying process. This is crucial to ensure that any adhesive or sealant used adheres properly. Skilled technicians will use specialized tools and techniques to expedite drying while maintaining the integrity of the vinyl material. Once the surface is completely dry, it’s time for final touches. This includes applying the necessary finishes, such as clear coats or sealants, to protect the repaired area from future damage.
In an automotive body shop, professionals understand that precise execution during this phase is vital to match the original car body repair and ensure a seamless finish. The goal is to restore the vehicle to its pre-damaged state, enhancing aesthetics and preserving the overall value of the asset.
Vinyl wrap repair replacement is a precise process that typically takes 1-2 days, depending on the extent of damage. By following these simple yet effective steps—assessing, preparing, applying, and finalizing—you can ensure a professional-grade fix. This quick turnaround means you’ll have your vehicle looking like new in no time, enhancing its aesthetic appeal and protective layers against future damages.